
Last updated October 30, 2026
 Water damage drying
 Fire & smoke cleanup
 Mold remediation
 Storm response
 Sewage cleanup
 Reconstruction
Free visual inspection and a written scope of work before any mitigation begins - photos, moisture readings, and drying logs go in your claim file
The scope we write is the scope we bill. Anything new gets shown to you, in writing, before we touch it.
Get your free estimateWater Damage Restoration Maintenance Checklist for Victorville Homeowners
The pipe joint most likely to fail in a Victorville home isn’t the one exposed to moisture. It’s the one that has expanded and contracted through 60-degree daily temperature swings for five straight summers without anyone checking it. While coastal California homeowners worry about winter rain, High Desert homeowners face a different adversary: thermal fatigue. Every May through September, Victorville sees daytime highs above 95°F and nighttime lows in the 50s. That cycle stresses solder joints, compression fittings, and supply line seals in ways a coastal house never experiences. This guide is a predictive maintenance protocol built specifically for Victorville’s desert climate, not a generic checklist rewritten from a Seattle contractor’s blog. You’ll learn where water damage actually starts in High Desert homes, how to inspect proactively, and when to call for professional Water Damage Restoration assessment before a pinhole leak becomes a ceiling collapse.
Restoration work we handle
Quick Answer
A Victorville homeowner’s water damage prevention checklist should focus on thermal expansion stress points: supply line fittings under sinks and behind appliances, swamp cooler supply lines and roof penetrations, stucco weep screeds, and water heater connections. Inspect these monthly during summer and document baseline moisture readings with an inexpensive meter so you can detect deviations before visible damage appears. The most effective maintenance strategy in the High Desert is tracking change over time, not waiting for a drip.
Table of Contents
- Why Victorville Homes Fail Differently
- The Thermal Expansion Inspection Protocol
- Swamp Cooler and Roof Penetration Checks
- Stucco Weep Screeds and Monsoon Flashing
- Baseline Moisture Documentation
- Month-by-Month Maintenance Calendar
- What to Do When You Find a Problem
- Common Mistakes to Avoid
- When to Call a Professional
- Frequently Asked Questions
- The Bottom Line
Why Victorville Homes Fail Differently
Victorville sits in the High Desert at roughly 2,700 feet elevation, where the climate produces two distinct stress patterns that coastal and valley homes simply don’t experience. The first is diurnal temperature swing. In July, it’s common to see a 40-degree spread between the 3 p.m. high and the 5 a.m. low. Copper pipe, PVC fittings, rubber washers, and the threaded connections between them all expand and contract at different rates. Over five summers, that’s roughly 450 significant thermal cycles on every joint in your plumbing system.
The second pattern is the monsoon season. From late June through early September, Victorville receives most of its annual rainfall in short, intense bursts. A home that sees less than 6 inches of rain per year might get an inch in 90 minutes during a monsoon cell. Water hits stucco walls, roofing penetrations, and window flashing at rates the original drainage design rarely anticipated. Homes built in the 1980s and 1990s, which make up a large portion of Victorville’s housing stock, often have flashing details that were never tested against true monsoon intensity.
What this means in practice: the most dangerous water damage risk in Victorville isn’t a slow seasonal leak. It’s a joint that fails suddenly under thermal fatigue during the hottest week of the year, combined with a monsoon storm that pushes water into a structural cavity that’s been silently compromised for months. In our experience, we’ve seen homes where the first visible sign of trouble was a water stain appearing six feet away from the actual failing joint, because water traveled along a joist for weeks before finding an exit point.
The Thermal Expansion Inspection Protocol
Thermal expansion damage is invisible until it isn’t. The fix is a systematic inspection routine that catches stress indicators before failure. Here is the protocol we recommend for every Victorville homeowner, performed monthly from May through October when thermal cycling is most aggressive.
- Shut off the main water supply briefly. You don’t need to turn it fully off, just enough to drop the pressure by about half. Then restore pressure. Listen for any hissing, ticking, or popping sounds in walls and under cabinets. Those sounds are fittings shifting under pressure change, a warning sign of a joint nearing failure.
- Inspect every visible supply line fitting under sinks. Look at the compression nuts where the supply line meets the shutoff valve and where it meets the faucet. Check for white or green crusty deposits, which indicate slow seepage that evaporates before it drips. Run a dry finger under each fitting; if it comes away damp, you’ve found an active micro-leak.
- Move the refrigerator and inspect the ice maker supply line. This is the single most common hidden leak source in Victorville homes. The line sits in the warmest part of the kitchen, against an exterior wall that bakes in afternoon sun. Check the saddle valve or the shutoff fitting. If it’s a plastic line, replace it with braided stainless. Plastic degrades under heat cycling.
- Check behind the washing machine. The hot water supply line to a washing machine cycles through temperature extremes every time you run a hot load. Pull the machine out and inspect both the hot and cold lines where they connect to the wall valves. Look for bulging, cracking, or mineral deposits.
- Inspect the water heater connections. Victorville tap water is hard. Mineral buildup accelerates corrosion at the threaded connections above the tank. Check the cold inlet and hot outlet nipples for signs of weeping or crust formation. If the water heater is in the garage, remember that the garage gets significantly hotter than the living space, accelerating thermal fatigue.
- Look at the toilet supply lines. Braided stainless lines are good, but the plastic washers inside the connection nuts degrade under temperature cycling. Check the floor around each toilet base for subtle discoloration or a slight musty smell before any visible puddle appears.
This inspection takes about 30 minutes once you’ve established the routine. The goal is not to fix anything during the inspection. The goal is to identify changes from your documented baseline. A fitting that looked clean in May but shows mineral crust in July is a fitting to replace or have inspected before August heat stress peaks.
Swamp Cooler and Roof Penetration Checks
Swamp coolers are common in older Victorville homes, and they represent one of the largest single sources of hidden water damage that a generic checklist never mentions. A swamp cooler moves water through the unit continuously while operating. The supply line feeding it is typically a small copper or plastic tube running from an exterior hose bib, along the exterior wall, and up through a roof penetration. Every connection point along that path is exposed to full sun and desert temperature extremes.
What to check monthly during cooling season:
- The float valve inside the cooler. A stuck float valve overflows the reservoir, and the overflow drains onto the roof. Over time, that constant water exposure degrades roofing material and can seep into the attic around the cooler mounting point. Listen for water running when the cooler is on but the pump is not actively pumping to the pads.
- The supply line connections. The fitting where the line connects to the hose bib, and the fittings at the cooler itself, experience both thermal cycling and continuous water contact. Look for mineral deposits at the connections. Victorville’s hard water makes these deposits visible early, which is helpful if you know to look.
- The roof penetration seal. Climb into the attic during daylight and look around the cooler’s ceiling opening from below. Look for discoloration on the framing or sheathing. Look for light visible through gaps around the duct opening. A failing roof seal around a swamp cooler is one of the few places in a Victorville home where water can enter continuously without anyone noticing for months.
- The overflow drain line. Make sure it directs water to the roof edge and not into a wall cavity or onto a flat section where it can pool. Many older installations have overflow lines that terminate mid-roof, creating a constant moisture zone against the structure.
If you’re replacing an old cooler line rather than inspecting it, use a braided stainless supply line. It costs about $25 more than copper or plastic and eliminates the most common failure point. If the cooler itself is nearing end of life, consider elimination entirely. Many Victorville homeowners have switched to refrigerated air, and from a water damage prevention perspective, removing a roof-penetrating water appliance is the single most effective step you can take.
Stucco Weep Screeds and Monsoon Flashing
Most Victorville homes have stucco exteriors. Stucco is a reservoir cladding system, which means it absorbs water during rain events and releases it through evaporation and drainage. The system only works if the drainage path is clear. In the High Desert, that drainage path is the weep screed at the bottom of each stucco wall section.
A weep screed is a metal flashing installed along the bottom edge of stucco walls. It creates a small gap that allows water absorbed by the stucco to drain out at the bottom instead of wicking into the framing. When a weep screed gets buried by landscaping, blocked by a concrete patio addition, or painted over repeatedly, water has nowhere to go. During monsoon events, that trapped water migrates into wall cavities and starts damaging framing. The damage is invisible from outside and often unnoticed from inside until the wall begins to smell musty or paint starts bubbling at the baseboard.
Monsoon preparation checklist for stucco homes:
- Walk the perimeter in June. Look for any place where soil, mulch, pavers, or concrete has risen above the weep screed line. The screed should sit at least 4 to 6 inches above grade in most Victorville code applications, but older homes often have it partially buried.
- Check for painted-over weep screed vents. If you’ve had the exterior repainted, the painter may have sealed the drainage gap. Run a thin scraper along the bottom edge to confirm the gap is open.
- Inspect window and door flashing. Look for missing or lifted flashing above window heads on south-facing and west-facing walls. These walls take the brunt of monsoon-driven rain even in Victorville, where prevailing winds push storms from the southwest.
- Check roof-to-wall transitions. This is where a shingle or tile roof meets a stucco parapet or upper wall. The step flashing in these areas is the most common leak point during intense monsoon rain. Look for failed sealant and gaps in the flashing from the exterior, and water stains on the interior ceiling in the rooms below.
If you find a blocked or buried weep screed, the fix is typically straightforward: remove the obstructing material to restore the drainage gap. If you find active water staining during a monsoon event, the damage is likely already inside the wall. That’s the point where a professional assessment with a moisture meter and thermal imaging makes sense, before the staining spreads and the repair scope grows.
Baseline Moisture Documentation
Here’s the part of this guide that almost nobody else includes: you cannot detect a slow change if you don’t know where you started. A pinhole leak inside a wall cavity can raise the moisture content of framing from 12% to 22% over several weeks before any visible staining appears. If you know your baseline is 12%, you catch it early. If you don’t know your baseline, you find out when the drywall sags.
A basic pin-type moisture meter costs between $30 and $60 at any hardware store. It has two metal probes that you press against or into the material being tested. For drywall, wood framing, and stucco, these readings give you a rough but useful picture of hidden moisture conditions.
How to establish and use your baseline:
- Buy the meter in April. That’s after winter but before the serious summer heat begins. Your home is at its driest equilibrium point, which makes it the cleanest time to establish reference readings.
- Map your test points. Choose 8 to 10 locations: behind the refrigerator, under each bathroom sink, the wall behind the washing machine, the ceiling near the swamp cooler or HVAC unit, the wall below each window, and any wall adjacent to exterior hose bibs. Take readings at each point and write them down in a small notebook or spreadsheet.
- Record the reading in a consistent spot. Always press the meter probes into the same stud or drywall section. Readings vary slightly by material density, so consistency matters more than absolute precision.
- Re-test monthly from June through September. Any point that shows a reading more than 4 to 5 percentage points above baseline warrants a closer look. The change is usually gradual, which is exactly what you want to catch early.
- Re-test 48 hours after any monsoon event that delivers more than half an inch of rain. This is the single most useful data point. If water entered a wall cavity during a storm, the moisture spike shows up within two days even if you can’t see any staining yet.
This process takes about 20 minutes per month. That’s roughly four hours a year. Compare that to the cost of opening a wall, replacing framing, and remediating mold. We’ve seen Victorville homeowners catch failing supply lines weeks before visible damage because their monthly reading at the refrigerator wall jumped three points.
Month-by-Month Maintenance Calendar
Victorville doesn’t have four seasons in the way a generic maintenance calendar assumes. The High Desert year breaks into three practical phases: the monsoon preparation window, the summer stress period, and the winter maintenance season. Here is the calendar that matches how homes actually behave in this climate.
April: Baseline Month
- Establish your moisture meter baseline at your mapped test points.
- Inspect the swamp cooler supply line and roof penetration before the cooling season begins.
- Walk the exterior perimeter and check every weep screed for obstruction.
- Check the water heater connections and surrounding floor for mineral deposits.
May through July: Monthly Stress Inspections
- Run the thermal expansion inspection protocol described above every month.
- Take moisture readings at all baseline points monthly.
- Check the swamp cooler float valve and overflow during operation every two weeks.
- Listen for hissing or ticking sounds from wall cavities when water pressure changes.
August: Peak Readiness
- Take moisture readings before and after any significant monsoon event.
- Inspect window and door flashing on south-facing and west-facing walls.
- Re-check every supply line fitting that has shown any mineral deposit or dampness during summer.
- Verify the swamp cooler shutoff valve operates freely if you plan to switch to refrigerated air any time this month.
September through October: Post-Monsoon Assessment
- Take a final round of moisture readings at all baseline points and compare to April.
- Look for any new staining on ceiling corners, around window trim, and along baseboards.
- Inspect the roof near the swamp cooler and any vent penetrations for monsoon-related flashing damage.
- Document anything that changed during summer so you have a reference point for next year.
November through March: Low-Stress Maintenance
- Inspect shutoff valves under sinks and toilets. Operate each one fully closed and open to prevent mineral seizure.
- Replace washing machine supply lines every three years regardless of appearance.
- Check for rodent damage on any exposed pipes in the attic, crawl space, or garage during winter when pests seek warmth.
- Review your moisture baseline documentation and plan any repairs identified during the summer cycle before the next monsoon season approaches.
This calendar treats maintenance as a continuous monitoring cycle rather than a series of completed tasks. The goal is early detection of change, not perfect compliance with a checklist.
What to Do When You Find a Problem
Finding a problem during a routine inspection is a good outcome. It means you caught it before it became an emergency. What you do next determines whether it stays small or becomes a structural repair. Here is the sequence that works best for Victorville homeowners who want to minimize disruption and cost.
First, stop the water. If you’ve found an active leak at a fitting, shut off the nearest isolation valve. If there is no isolation valve, shut off the main supply. Do not attempt to tighten a compression fitting that’s actively leaking under pressure. Sometimes that works and stops the drip. Sometimes it shears the fitting and turns a drip into a spray. The safe move is to release pressure first, then assess.
Second, determine whether water has migrated beyond the visible point. A leak behind a washing machine often drains onto the floor and runs under the baseboard into the wall cavity of an adjacent room. A leak under a kitchen sink usually stays contained in the cabinet. Use your moisture meter along a 3-foot radius around the visible leak point. Check both wall surfaces on each side of the affected wall if you can access them.
Third, document everything before you dry anything. Take photos of the visible water, the meter readings, and the surrounding area. This documentation is useful for insurance claims if the damage is significant, and it helps any contractor you bring in understand exactly what happened. Insurance adjusters respond well to clean documentation that shows a proactive homeowner caught the problem early.
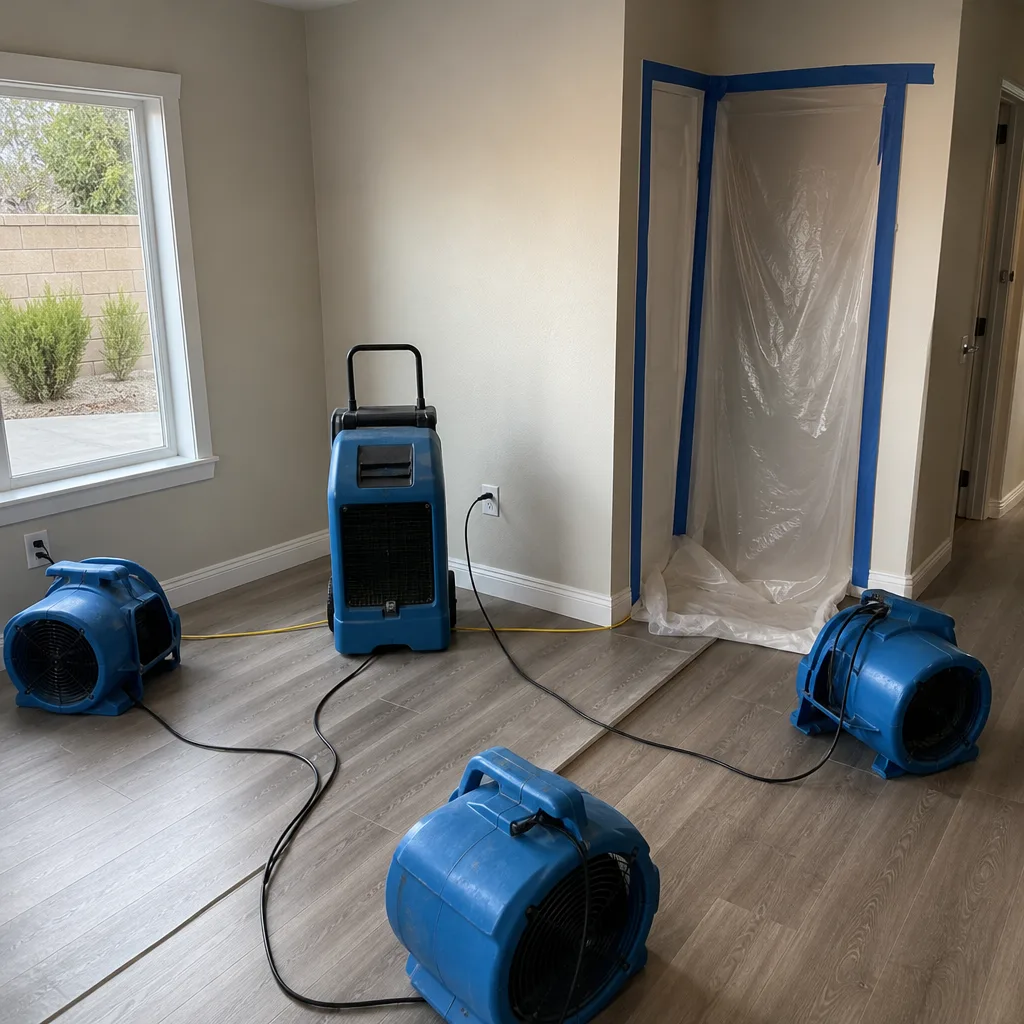
Fourth, dry the area properly. A towel and a fan will dry visible surface water. They will not dry water that has wicked into drywall or under flooring. If your moisture meter shows elevated readings in structural materials, professional drying is warranted. Our IICRC-certified drying protocol uses industrial air movers and dehumidification to remove water from building materials before secondary damage like mold takes hold. If you’re unsure whether professional drying is needed, you can always call Whitfield Water Damage and describe what you’re seeing. We’ll tell you honestly whether it warrants a crew visit or whether your own efforts are sufficient.
Common Mistakes to Avoid
- Ignoring a musty smell because you can’t see water. In Victorville homes, a persistent musty odor in a room often indicates water trapped in a wall cavity from a monsoon event or a slow supply line leak. The water is there even if the visible signs aren’t. Waiting for staining means waiting until the drywall is compromised and the repair scope doubles.
- Tightening a leaking joint without releasing pressure first. This is the most common DIY mistake we see and it turns a $15 fitting replacement into a flooded cabinet and soaked flooring. Always shut off the water supply before attempting any fitting adjustment.
- Painting over mold or water stains without addressing the source. The stain will return because the moisture source is still active behind the paint. In a desert climate, some homeowners assume the stain means the leak has dried and stopped. It usually hasn’t.
- Running a swamp cooler with a blocked overflow drain. Even a small overflow sends water onto the roof continuously. Over one summer, that’s hundreds of gallons of water concentrated in one spot, seeping into the roof deck and potentially the attic.
- Not checking the refrigerator supply line because it’s inconvenient to move the fridge. The ice maker line sits in the warmest part of the kitchen against an exterior wall. This is a top-three leak source in Victorville homes, and the leak often goes unnoticed for weeks because the water runs under the refrigerator and into the subfloor.
- Assuming a new home doesn’t need inspection. New construction in Victorville often uses materials that haven’t stabilized through their first thermal cycle. The first summer is when PEX fittings, new solder joints, and fresh caulking around exterior penetrations show their weaknesses. Inspect a new home more frequently, not less.
- Relocating from a coastal climate and applying the same maintenance assumptions. Homes in Victorville face different stress patterns than homes in Orange County or San Diego. A pipe that would last indefinitely in a mild coastal climate can fail in five High Desert summers. The maintenance routine has to change accordingly.
When to Call a Professional
Your maintenance checklist should catch problems before they require professional intervention. But some findings mean it’s time to bring in a trained restoration team rather than attempting a DIY fix. Call us if your moisture meter shows elevated readings in wall cavities or under flooring that you cannot trace to a visible source. Call if you find mold growth larger than a dinner plate, which typically means the moisture problem has been active for weeks. Call if a supply line failure has released water into multiple rooms or for more than a few minutes. Call if you see ceiling staining that’s spreading, because a ceiling is holding water and the weight is increasing. In each of these scenarios, professional assessment with IICRC-certified drying protocols prevents a small problem from becoming a structural one. Whitfield Water Damage offers free estimates in Victorville. Call (855) 382-0478 and we’ll walk through what you’re seeing before you commit to anything.
Frequently Asked Questions
Check supply line fittings, shutoff valves, and appliance connections monthly from May through October, when thermal cycling is most aggressive on plumbing materials. A monthly routine during the summer heat season is sufficient to catch most problems before they become visible; during winter months, bi-monthly checks are adequate for most Victorville homes.
The refrigerator ice maker supply line is the most common hidden leak source we see in Victorville homes, followed closely by swamp cooler supply lines and washing machine hoses. The refrigerator line sits near a warm exterior wall, accelerating thermal fatigue in the fittings. The leak often runs under the appliance and into the subfloor for weeks before anyone notices.
Yes. Most water damage in Victorville homes develops from slow leaks at fittings and compromised flashings, not from floods. A slow supply line leak inside a wall cavity can damage framing, insulation, and drywall for months before the first visible stain appears. This is why baseline moisture monitoring, not just visual inspection, is important.
Most insurance policies cover sudden and accidental water damage, such as a burst supply line or an appliance failure, but many exclude damage from slow leaks that occurred over time. This is another reason early detection matters: a leak caught at fitting level is a plumbing repair, while a leak that runs for months and damages walls becomes a coverage dispute. Document your inspections and any findings with photos and moisture readings.
Swamp coolers work effectively in Victorville’s dry climate, but every swamp cooler installation creates a roof penetration and a continuous water supply running to the roof. If the unit is well-maintained and the overflow system is functioning, the risk is manageable. If the cooler is older and the supply line or roof seal shows signs of wear, switching to refrigerated air eliminates one of the largest single-point water damage risks in a High Desert home.
Shut off the water supply to the affected fixture or area first. Document the damage with photos and moisture readings. Determine whether water has migrated beyond the visible area using your moisture meter. If the damage involves wall cavities, flooring, or more than a small area of visible water, call (855) 382-0478 for a professional assessment. The sooner structural drying begins, the less likely secondary damage becomes.
The Bottom Line
Victorville’s water damage risks don’t follow the same playbook as coastal California. The enemy here is thermal fatigue acting on plumbing connections, combined with intense monsoon events that exploit every weakness in exterior flashing and stucco drainage. A maintenance checklist built for this climate treats inspection as an ongoing monitoring system, not an annual task. Document your baseline moisture readings in April. Inspect thermal expansion stress points monthly through the summer heat. Check swamp cooler and roof penetrations before and during cooling season. Keep weep screeds clear before monsoon season. When something changes, act before the change becomes structural. That’s how Victorville homeowners avoid the expensive surprises that dominate insurance claims in the High Desert. For professional water damage assessment, mold concerns, or questions about what you’re seeing, the team at Whitfield Water Damage handles water damage restoration with IICRC-certified methods. We also provide mold remediation and fire damage restoration for High Desert homes. Call (855) 382-0478 for a free estimate.
Written by the team at Whitfield Water Damage, serving Victorville since 2011. Explore more guides & resources on protecting your High Desert home.
See the difference
 Before
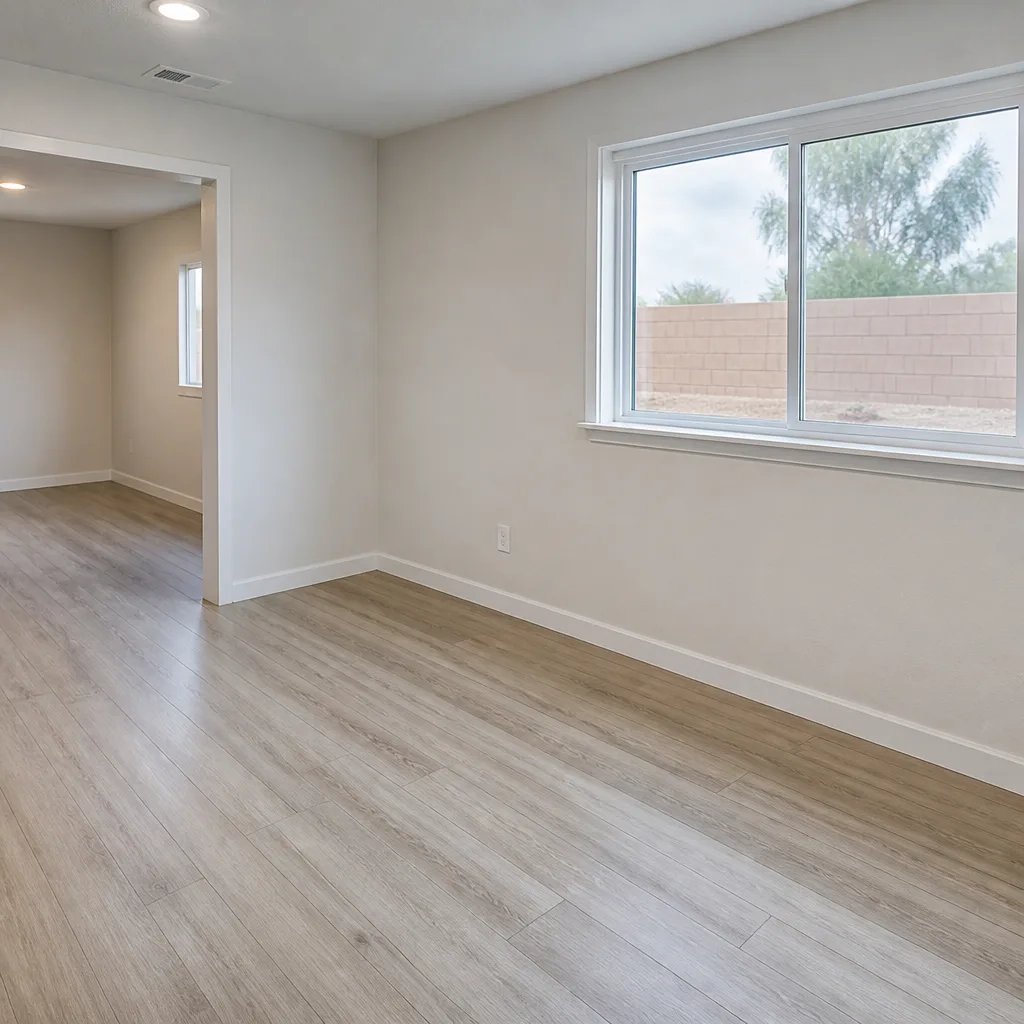 After
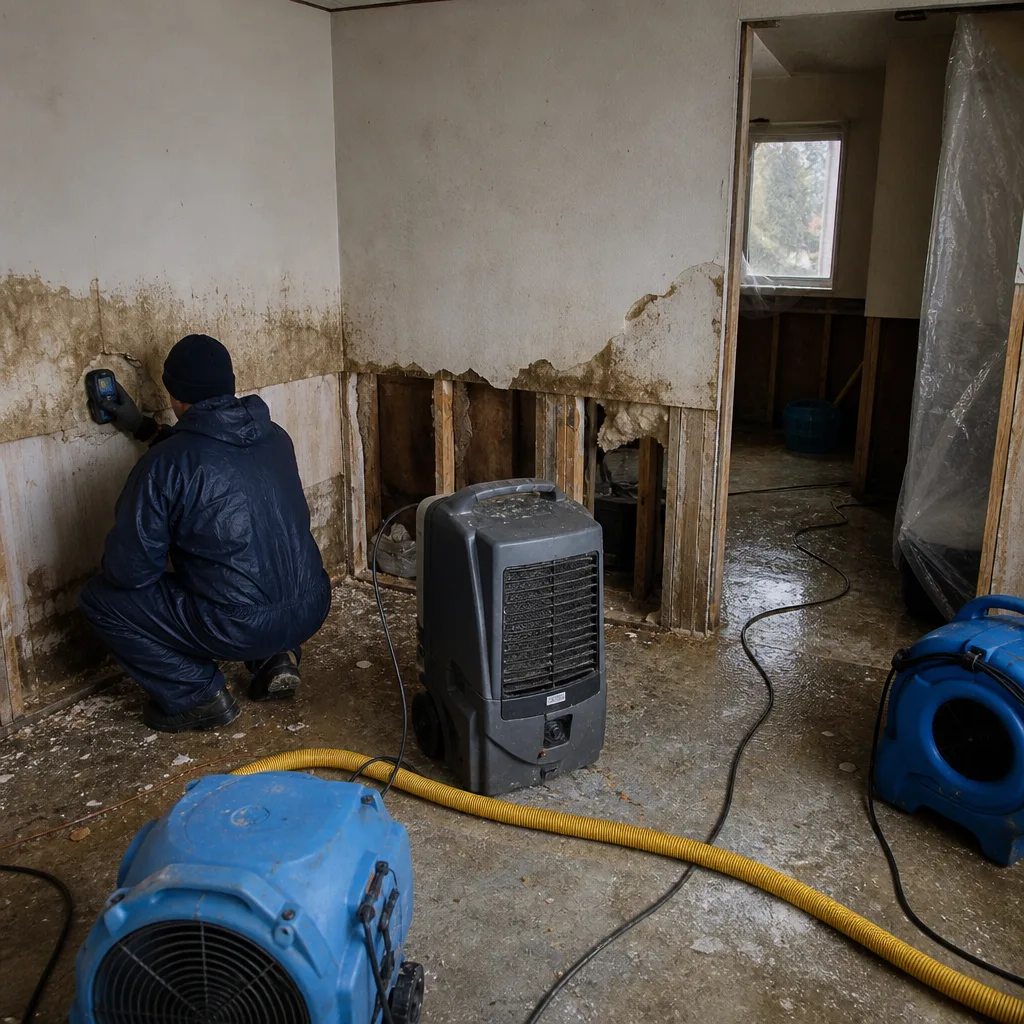 Before
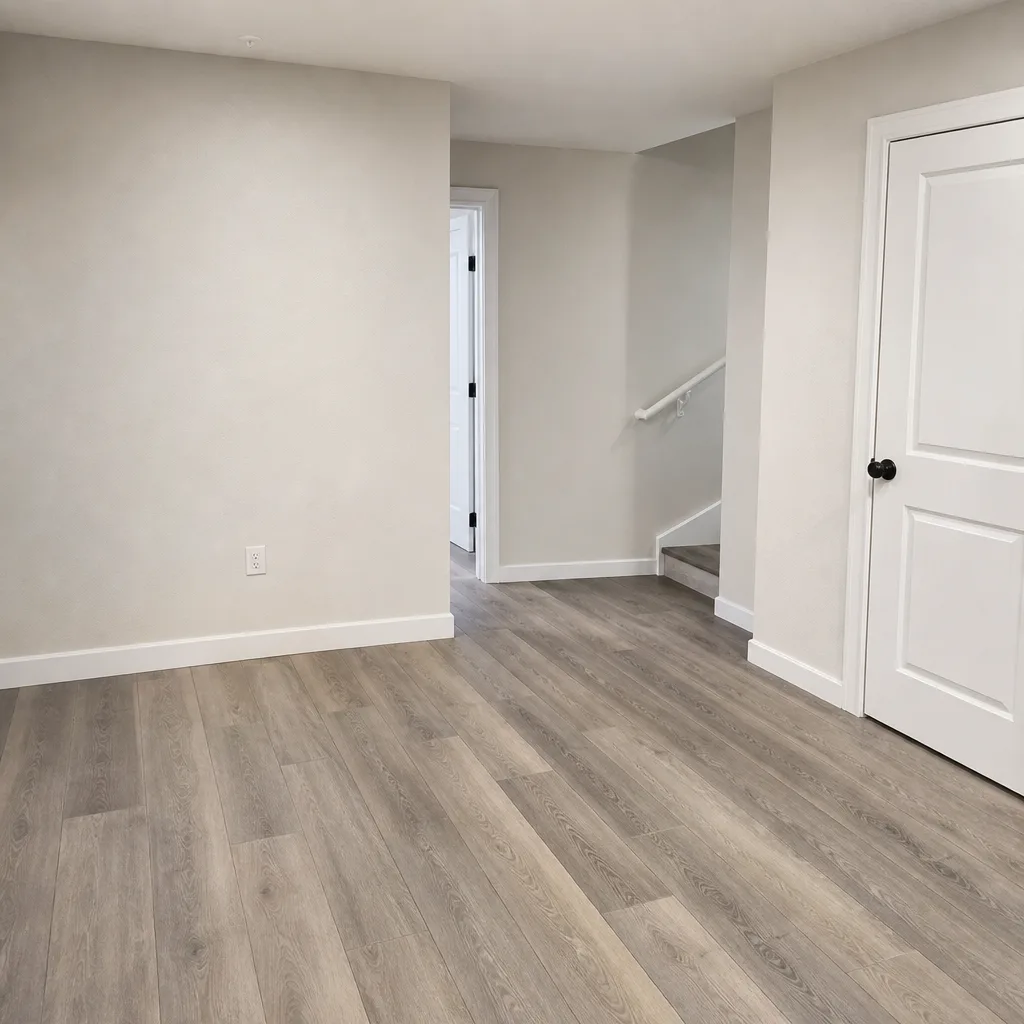 After
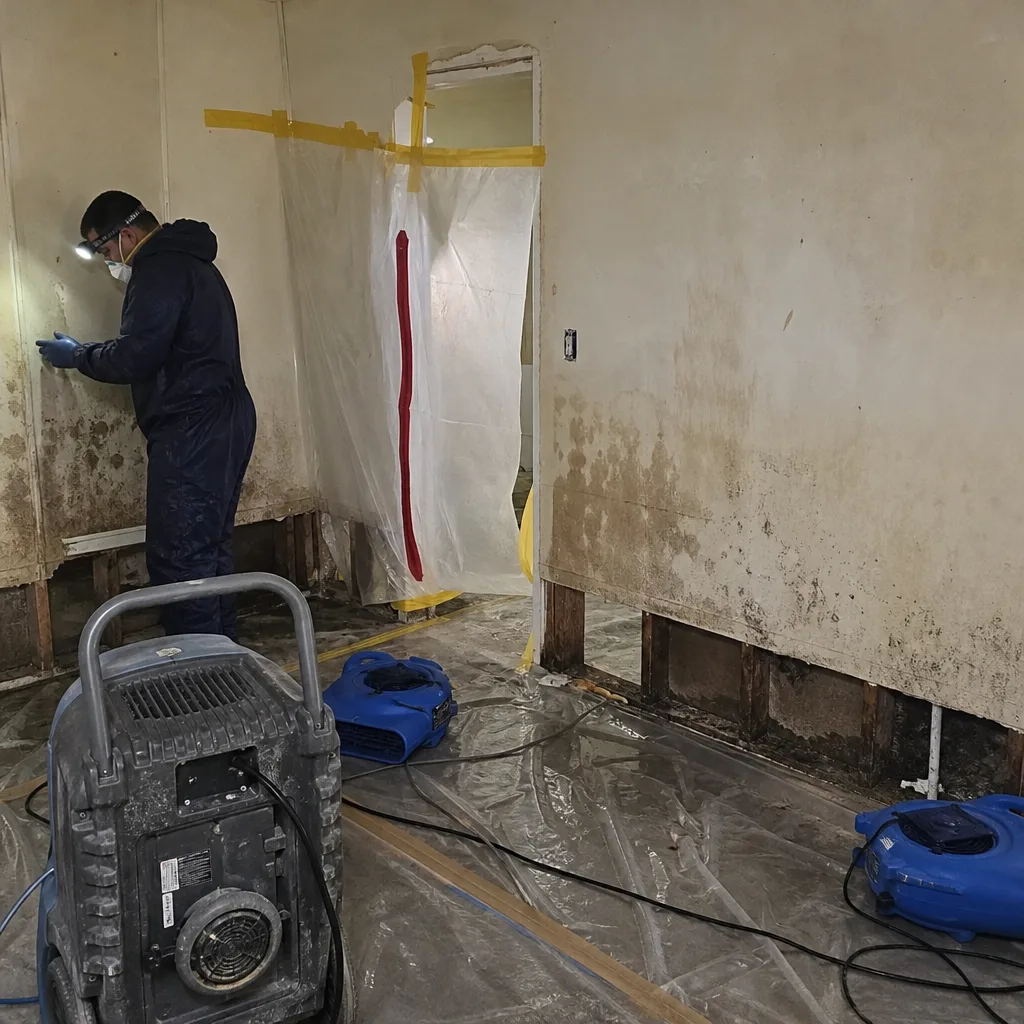 Before
 After