Last updated October 30, 2026
 Water damage drying
 Fire & smoke cleanup
 Mold remediation
 Storm response
 Sewage cleanup
 Reconstruction
Free visual inspection and a written scope of work before any mitigation begins - photos, moisture readings, and drying logs go in your claim file
The scope we write is the scope we bill. Anything new gets shown to you, in writing, before we touch it.
Get your free estimateWater Damage Restoration Troubleshooting: Common Problems and How to Fix Them
If a musty odor returns three weeks after your restoration company signed off, the walls weren’t dry when they closed them. Full stop. That smell is microbial VOC off-gassing, and it’s a data point, not a mystery. In Victorville, where summer temperatures routinely cross 100°F and monsoon-season humidity swings are sharp, incomplete drying hides well until it doesn’t. This guide walks through the most common post-restoration failures we see, what actually caused them, and what a correct fix looks like when someone has to reopen the job. For The Complete Guide to Damage Restoration in Victorville, see our full resource.
Restoration work we handle
Quick Answer
Most our Water Damage Restoration services problems stem from one of three root causes: insufficient structural drying before reconstruction, skipped or misapplied antimicrobial treatment on contaminated materials, or inaccurate moisture readings taken with uncalibrated meters. The fix always starts with identifying which failure occurred, documenting it, and reopening only what’s necessary to complete the drying or treatment protocol correctly the second time.
Table of Contents
- Symptom-to-Cause Diagnostic Table
- How to Read Moisture Readings and Why Calibration Matters
- What a Post-Remediation Verification Report Actually Tells You
- The Three Most Common Cutting-Corner Scenarios and Their Physical Evidence
- How to Do a Basic Moisture Self-Audit Before Calling a Job Done
- What to Do When a Contractor’s Work Fails
- Why Victorville’s Climate Makes Drying Verification Non-Negotiable
- Common Mistakes to Avoid
- When to Call a Professional
- Frequently Asked Questions
- The Bottom Line
Symptom-to-Cause Diagnostic Table
Most homeowners don’t need to be moisture-mapping experts to recognize that something went wrong. The symptoms are usually visible or smellable. What’s harder is connecting the symptom to the specific restoration failure behind it. Here’s the map we use when we’re called in to assess a job that another company already “completed” in Victorville:
| Symptom | Most Likely Cause | What Was Skipped or Done Wrong |
|---|---|---|
| Musty odor returns 2-4 weeks after sign-off | Microbial VOC off-gassing from damp building materials | Walls or flooring closed before moisture content dropped below the dry standard (typically under 16% for wood, under 4 on the wood moisture equivalent scale for drywall) |
| Hardwood or laminate re-buckles after looking fine at completion | Subfloor or underlayment retained moisture, then equalized into flooring during temperature swings | Drying focused on the visible surface instead of the cavity below; no Injectidry-style subfloor drying was deployed |
| White chalky residue on baseboards or concrete | Efflorescence from water moving through masonry or concrete and depositing mineral salts as it evaporates | Source of water intrusion was never fully stopped, or concrete slab wasn’t dried below acceptable levels before flooring was reinstalled |
| Paint bubbling or peeling at lower wall sections | Hydrostatic pressure or wicking moisture behind the paint film | Base plates or lower drywall still held moisture when painted; primer or paint sealed moisture in |
| Dark staining spreading on drywall edges | Mold colonization from sustained elevated moisture | Antimicrobial treatment skipped, diluted, or applied to already-moldy material that should have been removed |
| Flooring feels cold or damp in one spot, no visible stain | Moisture trapped under vapor barrier or between flooring layers | Moisture meter readings taken only on the surface, never in the cavity |
| Musty smell concentrated at baseboard gaps | Wall cavity still drying, wicking moisture downward | Drying time cut short; no negative air pressure or wall cavity airflow used |
Each of these symptoms is diagnosable with a combination of a properly calibrated moisture meter, a temperature and humidity reading, and visual inspection of the affected area’s perimeter. The key insight: none of these are “new” problems. They’re the same moisture problem, unresolved.
How to Read Moisture Readings and Why Calibration Matters
Moisture meters are only as trustworthy as their calibration. That single sentence explains a large share of the failed restorations we get called to re-dry in Victorville. A meter that hasn’t been calibrated against known dry and wet reference points will produce numbers that look authoritative and mean nothing.
Most professional restoration work uses one of two meter types:
- Pin-type meters: Two small pins penetrate the material surface. They measure electrical resistance between the pins. Wood, drywall, and some flooring read well this way. Readings are expressed as percent moisture content or wood moisture equivalent (WME).
- Pinless meters: A sensor pad scans the surface without puncturing it. These read deeper into the material than pin meters but can be fooled by metal studs, foil-backed insulation, or surface moisture.
What “dry” means depends on the material. Structural wood in a conditioned indoor environment should read below 16% WME before reconstruction starts. Drywall back to its pre-loss condition typically reads below 4 on the wood scale. Concrete slabs need to be evaluated with a concrete-specific meter or a relative humidity probe, since surface reading alone won’t tell you what’s happening an inch down.
The failure mode we see most often: a contractor takes readings, writes them down, and no one ever verifies the meter itself was checked against a reference standard that day. Some meters drift. Some have dead batteries that produce erratic readings. And some contractors, frankly, record the numbers they hoped to see. That’s why we run calibration checks at the start of every drying job and document the readings with photos. It’s part of an IICRC-certified drying protocol, not an optional add-on.
What a Post-Remediation Verification Report Actually Tells You
If you paid for professional water damage restoration, you should have received a post-remediation verification report, often called a PRV or clearance report, before the crew packed up. This document is the single most important piece of paper in your restoration file. It’s also the one most often missing when homeowners call us about a recurring problem.
A legitimate PRV report contains:
- Baseline and final moisture readings for every affected structural component, not just one number per room
- Drying chamber conditions tracked daily, including temperature, relative humidity, and grains per pound of moisture in the air
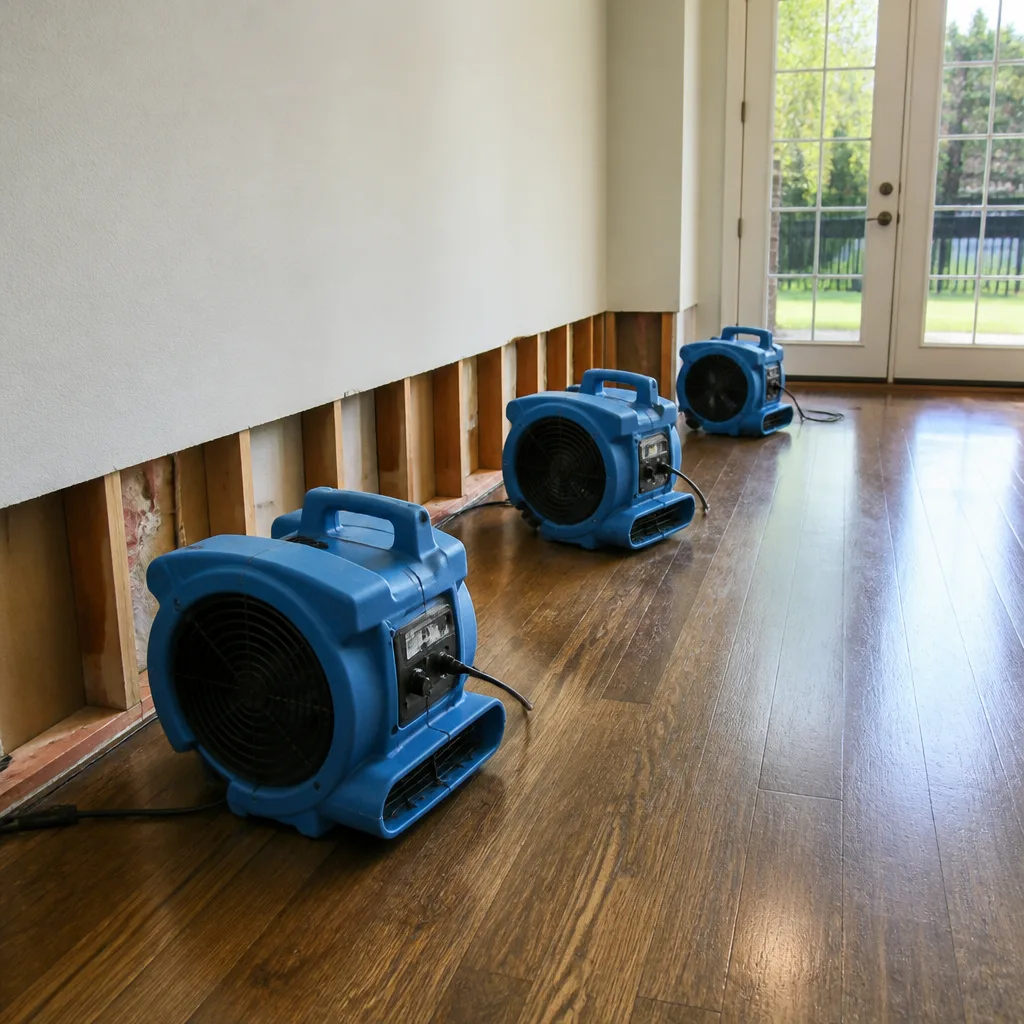
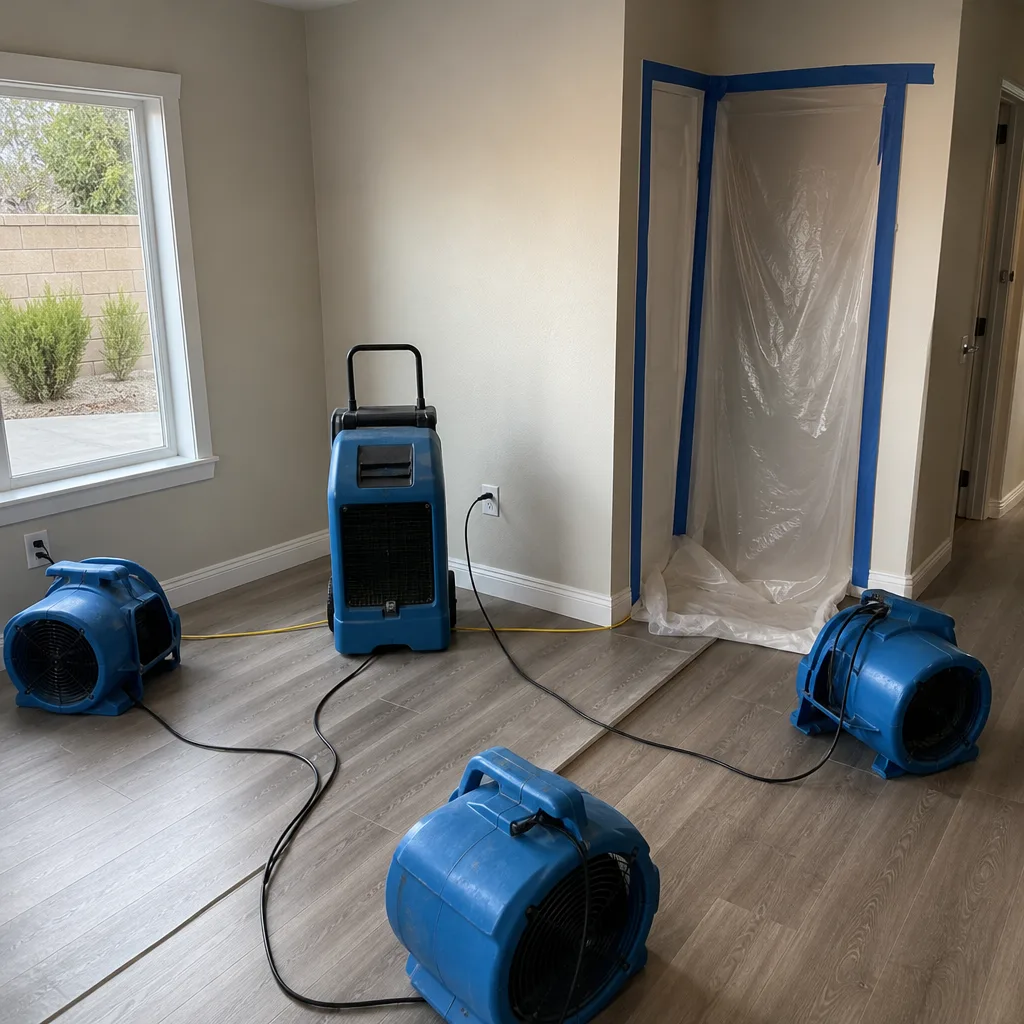
- Equipment logs showing how many air movers, dehumidifiers, and any supplemental drying systems were running and for how many days
- Antimicrobial treatment documentation including product used, dilution, application method, and areas treated
- Photo documentation of affected areas before, during, and after drying
- Sign-off criteria showing readings met the dry standard before reconstruction began
What should concern you: a one-page invoice that says “dried and restored” with no supporting data. A restoration company that can’t show you daily drying logs was running on guesswork. In our experience in Victorville and surrounding High Desert communities, the jobs that go wrong are almost always the ones where the drying data was never collected in the first place.
If your contractor did produce a PRV report but you’re seeing symptoms anyway, the report becomes the key to your remedy. Pull it out. Compare the final readings against what your own meter says now. If the contractor certified a wall at 9% WME and your meter reads 22% in the same spot, that’s a documentation error, an equipment error, or both.
The Three Most Common Cutting-Corner Scenarios and Their Physical Evidence
1. Insufficient Drying Time
The economics of restoration push toward speed. Every day equipment runs, the contractor’s margin shrinks. The temptation is to pull dehumidifiers and air movers a day or two early and declare victory. The physical evidence shows up later: warped trim, re-buckled flooring, and that telltale musty smell returning like clockwork.
What it looks like: Flooring that was flat at sign-off develops a crown or cup. A wall that read dry at the surface now shows a moisture shadow at the baseboard. In Victorville homes with slab foundations, watch for persistent cool spots on the concrete floor in rooms where the leak occurred.
2. Skipped or Misapplied Antimicrobial Treatment
When water sits for more than 24-48 hours, microbial growth becomes a real possibility, especially on porous materials like drywall, carpet underlayment, and unsealed wood. IICRC standards for water damage restoration divide water into categories, and Category 2 or 3 water (contaminated or sewage-affected) requires more aggressive microbial control.
A contractor who skips the antimicrobial step saves money on chemicals and labor. A contractor who applies it wrong, wrong dilution, wrong dwell time, wrong surface prep, might as well have skipped it. Physical evidence weeks later: dark staining creeping along drywall joints, a musty smell concentrated in corners, or visible mold on the back side of baseboards when removed.
3. Inaccurate Moisture Readings from Uncalibrated Meters
We covered calibration above, but the failure is common enough to rank in the top three. A contractor shows up with a moisture meter that hasn’t been checked against a reference standard in months. The readings look legitimate. They’re not. The contractor closes the wall based on bad data, and the homeowner discovers the truth when the paint starts bubbling.
What it looks like: No correlation between the PRV report numbers and what a third-party inspector or a simple recalibrated consumer meter finds later. One section of a room that dried normally, another section that clearly didn’t, despite similar readings at sign-off.
How to Do a Basic Moisture Self-Audit Before Calling a Job Done
You don’t need to be a certified technician to catch a lot of restoration failures early. A simple audit before you sign the completion paperwork can save you from the worst of the post-remediation disasters. Here’s a set of steps you can follow:
- Buy or borrow a consumer-grade moisture meter. Models we’ve seen produce reliable ballpark readings include the General Tools MMD4E and the Klein Tools ET140. These aren’t professional instruments, but they’re accurate enough to spot gross errors. Expect to pay $30-60. Calibrate it against a known dry area of your home first so you have a baseline reference.
- Map the affected area. Start at the center of the original damage and work outward in a grid pattern, taking readings every 12-18 inches. Write them down or photograph the screen at each spot.
- Compare readings against your home’s baseline. A dry area in another room with similar construction should read close to the same on your meter. If the restored area reads significantly higher than your baseline, ask questions before signing off.
- Check the corners and baseboard gaps. Moisture hides where airflow doesn’t reach. Probe at the bottom edge of drywall, behind baseboards if you can look, and at the corners where walls meet.
- Run your nose. Your olfactory system is more sensitive than most instruments. Get down close to the floor, close to the wall, and in the corners. Any musty or damp smell at all is a red flag that drying isn’t complete.
- Ask for the PRV report. If the contractor can’t produce one, treat the job as incomplete. If they can, compare their numbers to yours and ask them to explain any discrepancy that’s more than a few points.
This self-audit doesn’t replace professional verification. What it does is give you a documented basis to push back before the contractor leaves the driveway, rather than trying to prove a failure after the fact.
What to Do When a Contractor’s Work Fails
Finding out the restoration job wasn’t done right is frustrating, and it happens more often than the industry would like to admit. Here’s the sequence that gives you the strongest position:
Step 1: Document Everything
Photograph the symptoms. Note the date they appeared. Pull out whatever documentation you have from the original job: the invoice, any PRV report, photos the contractor took before closing things up, records of any conversations. Start a simple log with dates and descriptions. If you’re dealing with an insurance claim, this documentation becomes the backbone of a supplement claim.
Step 2: Re-Open the Conversation with the Original Contractor
Approach it as a factual matter. Show the contractor your documentation and ask for their plan to correct the problem. Legitimate restoration companies carry liability insurance precisely for this reason, and many will return to make things right to preserve their reputation. In Victorville and the broader High Desert, there are enough restoration companies competing for insurance-referred work that most reputable shops take corrective calls seriously. For help selecting one, see Choosing the Right Damage Restoration Brand: A Buyer’s Guide for Victorville.
Step 3: Bring in a Third-Party Industrial Hygienist if Necessary
If the original contractor is unresponsive or refuses to acknowledge the problem, a third-party indoor environmental professional can perform independent testing. These are not restoration contractors. They’re typically industrial hygienists or environmental testing firms that have no financial interest in the remediation outcome. Their report, especially if it documents elevated moisture or mold, creates a documented obligation. It’s the strongest tool you have for either a corrective contract with the original company or litigation support.
Step 4: File an Insurance Supplement Claim
If the original restoration was paid through insurance, the insurer has a stake in the failure too. Contact your adjuster with your documentation. Insurance carriers don’t want to pay twice for the same water damage, and documented evidence that the first contractor failed to meet drying standards can support a supplement to reopen the loss. This is where the PRV report, or the absence of one, becomes critical. No PRV report means no proof the job ever met the standard.
Throughout this process, keep every communication in writing. In California, contractor disputes have a four-year statute of limitations for patent defects and ten years for latent defects in residential construction, but you don’t want to test those deadlines. Move quickly when symptoms appear.
Why Victorville’s Climate Makes Drying Verification Non-Negotiable
Victorville sits in the High Desert, which means low average humidity, high summer temperatures, and diurnal temperature swings that can exceed 30°F between day and night. That combination creates a specific failure pattern in water-damaged homes.
During the day, hot, dry air pulls moisture out of materials quickly, which can make surfaces read dry even when deeper layers aren’t. At night, temperatures drop and the cooler air holds less moisture, causing water vapor to condense on cooler surfaces, re-wetting what appeared dry hours earlier. This cycling makes it easy for a contractor to pull equipment too early based on daytime readings.
Homes in Victorville also tend to be built on concrete slab foundations, and many have stucco exteriors. Slab leaks release water under the floor that can go undetected for weeks while being wicked up through the concrete. Stucco, being porous, holds moisture from exterior leaks and releases it slowly into wall cavities. Neither of these scenarios responds to quick surface drying. Both require sustained, measured drying with verification at multiple depths.
We’ve also found that High Desert homes with evaporative coolers create humidity pockets in summer that complicate drying. A room that seemed dry at noon can read elevated at 7 p.m. when the cooler has been running for hours. Professional drying protocol accounts for this by monitoring conditions throughout the day and evening, not just during a single site visit.
If you’re troubleshooting a failed restoration in Victorville, pay close attention to when your symptoms are most noticeable. Musty smells that peak in the evening or early morning point to condensation cycling. Warping that appears after a heat wave points to moisture trapped in flooring or subflooring re-equilibrating under thermal stress.
Common Mistakes to Avoid
- Signing off on the job without reviewing the PRV report. The report is the only objective evidence the drying was completed. If it wasn’t produced or if it’s thin on data, you’re signing away your strongest documentation tool.
- Believing surface dryness means structural dryness. A wall can feel dry to the touch while the cavity behind it holds enough moisture to support mold growth. Surface readings are the beginning of verification, not the end.
- Recaulking or repainting over suspicious areas. Covering the symptom doesn’t address the moisture source, and painting over a damp substrate often seals moisture in, accelerating damage behind the finish.
- Ignoring a faint musty smell because it’s not getting worse. Microbial VOCs don’t dissipate on their own when the moisture source remains. The smell is telling you something specific. Listen to it.
- Skipping the insurance notification before reopening walls. If you take corrective action without notifying your carrier, you may compromise your ability to recover those costs. Document first, then open.
- Hiring a different trade to “just fix the visible part” without addressing the moisture. Replacing buckled flooring before the subfloor is dry just creates a second failure. Fix the cause, then the symptom.
- Assuming any restoration contractor follows the same standard. IICRC certification is the industry benchmark for drying protocol, and not every company that advertises water damage restoration holds it. Ask.
When to Call a Professional
Some restoration failures are easy to spot and straightforward to fix. Others are not. You should call a professional restoration team when: symptoms reappear after a previous “completed” job, moisture readings in the affected area are consistently higher than your home’s baseline, musty odors persist for more than 48 hours despite ventilation, visible mold appears on any porous surface, or water intrusion involves sewage or contaminated water. If you’re in the Victorville area, you can also call when you simply don’t trust the company that did the first job and want a second opinion. Water Damage Restoration in Jurupa Valley follows the same IICRC-certified drying protocol we use here, and the team can walk you through what a correct re-drying looks like. Whitfield Water Damage offers free estimates in Victorville, call (855) 382-0478.
Frequently Asked Questions
A musty smell after restoration means microbial VOCs are off-gassing from materials that retained moisture when the job was signed off. The most common causes are walls or subflooring closed before they reached the dry standard, or antimicrobial treatment that was skipped or misapplied. The fix requires reopening the affected areas, completing drying to verified standards, and treating or removing contaminated materials. Call (855) 382-0478 for a free estimate if you’re in Victorville and smelling something that should have gone away with the restoration.
Professional structural drying typically takes 3 to 7 days for a contained Category 1 water loss, depending on the extent of the damage, the materials involved, and the drying environment. In Victorville’s High Desert climate, surface drying can happen faster during hot summer days, but cavity and subfloor drying often takes the full week because moisture wicks through concrete and framing more slowly. Any contractor that promises complete drying in 24-48 hours for a significant water loss is either running an unusually aggressive equipment setup or cutting corners.
Insurance often covers corrective work when the original restoration was part of a covered claim and the failure resulted from incomplete or incorrect work by the original contractor. Your strongest lever is documented evidence: a PRV report showing the drying met standards, or the absence of one showing it never did, plus independent moisture readings. Notify your adjuster before reopening walls so the corrective work can be evaluated for coverage. Document everything with photos and keep written records of every communication.
Structural wood should read below 16% wood moisture equivalent before reconstruction, and drywall should return to its pre-loss baseline, typically below 4 on the wood scale. Readings above these thresholds at closure mean the wall cavity will continue drying after it’s sealed, which leads to mold, odor, and finish failure. These numbers assume the meter is calibrated and the readings are taken at depth, not just on the surface.
Yes, for a basic audit. Consumer-grade meters like the General Tools MMD4E or Klein Tools ET140 are accurate enough to identify gross moisture problems, especially when you compare readings against a known dry area in your home. They won’t give you the depth-specific data that professional pinless meters and penetrating probes provide, but they’ll catch a wall that’s reading dramatically wetter than it should be. Calibrate against a dry reference point before taking readings seriously.
Ask for it in writing. The PRV report is the documentation that drying was completed to standard, and a contractor who can’t produce one has no objective evidence the job was finished correctly. If the contractor refuses or can’t produce the data, treat the restoration as unverified and consider bringing in a third-party inspector to evaluate the property. If mold or moisture issues appear later, the missing PRV report becomes significant evidence that the drying protocol was never properly executed.
Yes. When a previous restoration leaves behind mold or ongoing moisture problems, our team evaluates the property, identifies where the original drying failed, and corrects it before mold work begins. We follow IICRC-certified drying protocol using equipment from Dri-Eaz, Phoenix, and other professional brands, and we document every step for insurance claims. For homeowners in Victorville and surrounding communities, we also offer Mold Remediation in Jurupa Valley and the surrounding High Desert. Call (855) 382-0478 to schedule a free estimate.
The Bottom Line
Water damage restoration is a science with measurable standards. When a job fails, it fails for identifiable, preventable reasons: drying was cut short, antimicrobial treatment was skipped or misapplied, or the moisture readings that justified closing the walls were never valid in the first place. You have tools to catch these failures early, from consumer moisture meters to the PRV report your contractor should hand you before you sign anything. Explore more guides & resources for additional help. If you’re in Victorville and suspect a previous restoration wasn’t done right, don’t guess and don’t wait. Document what you’re seeing, ask for the drying data, and get a definitive answer about what’s behind the symptom. The musty smell isn’t a mystery. It’s a measurable, fixable problem.
Explore our Whitfield Water Damage home for a complete overview of our services, including Fire Damage Restoration in Jurupa Valley for smoke and fire-related losses.
Written by the team at Whitfield Water Damage, serving Victorville since 2011.
See the difference
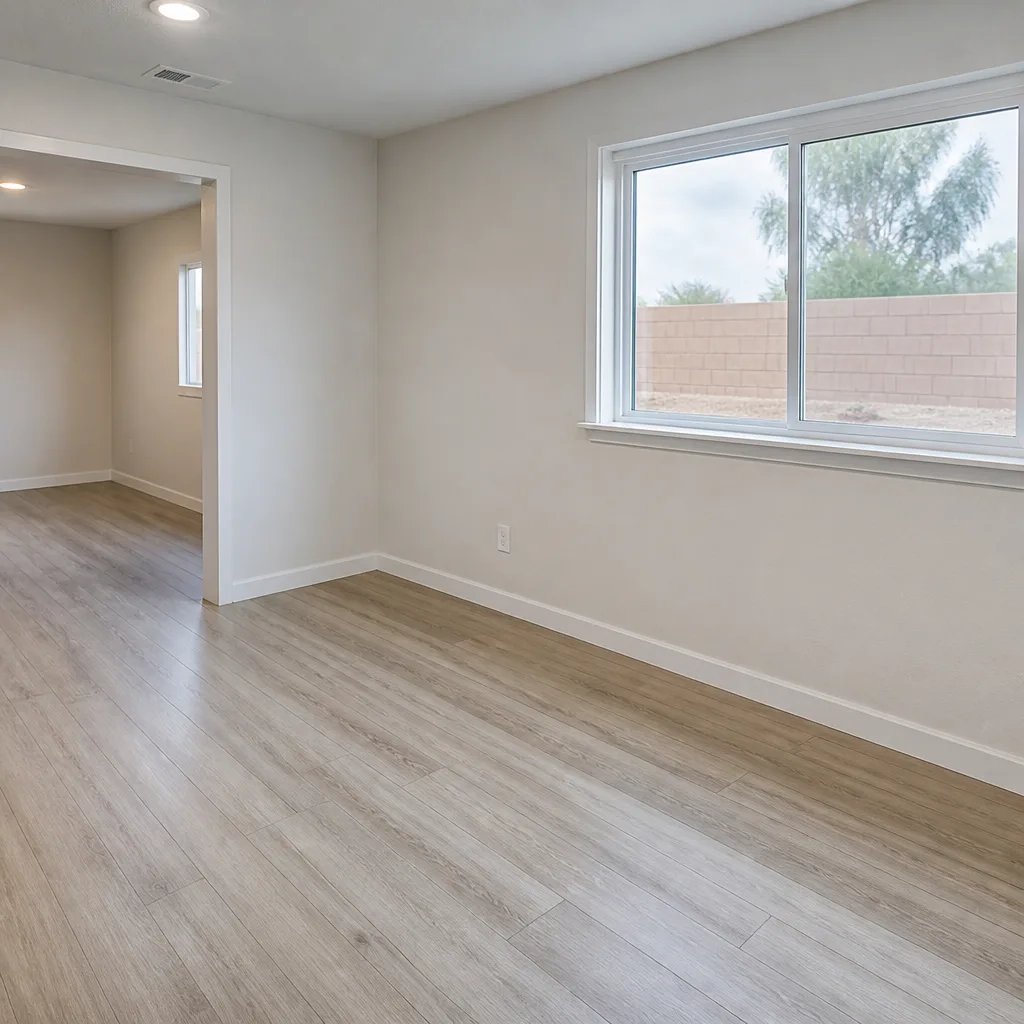
 Before
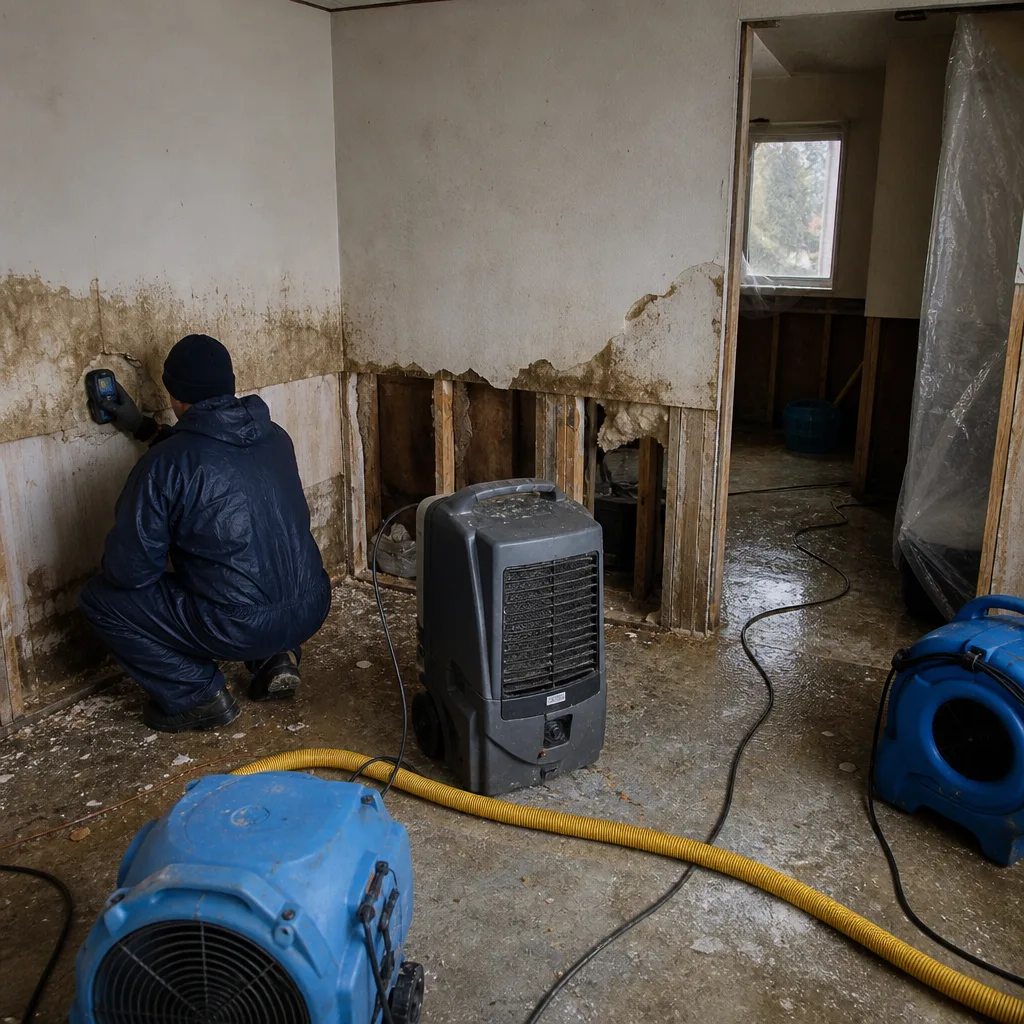
 After
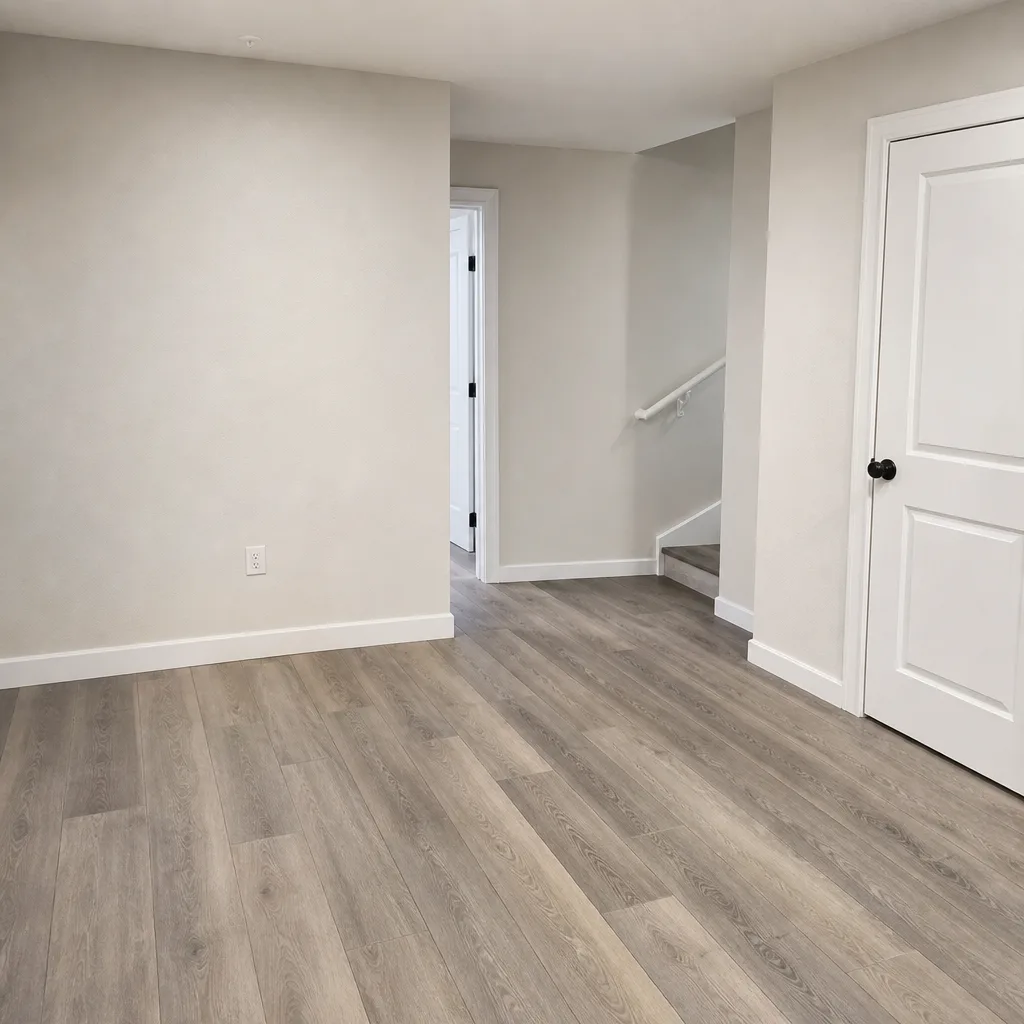
 Before
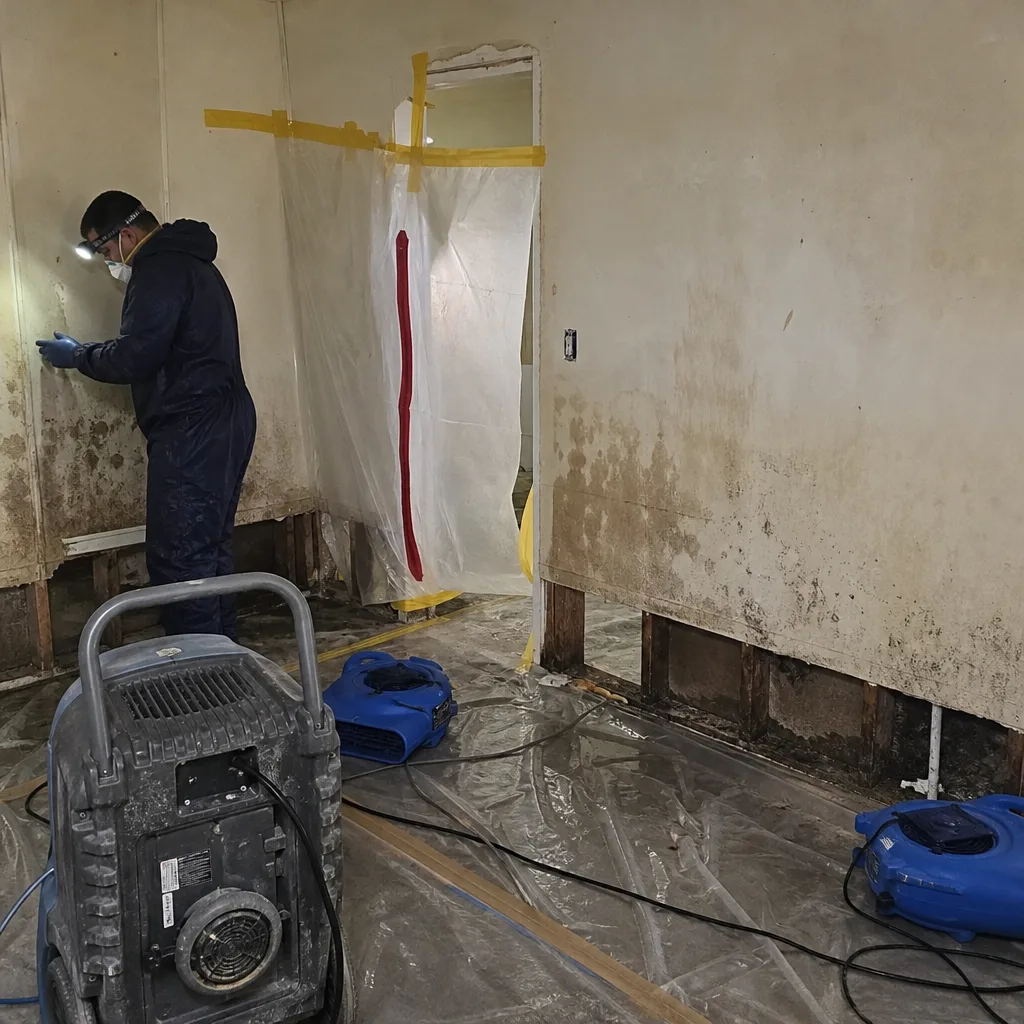
 After
 Before
 After